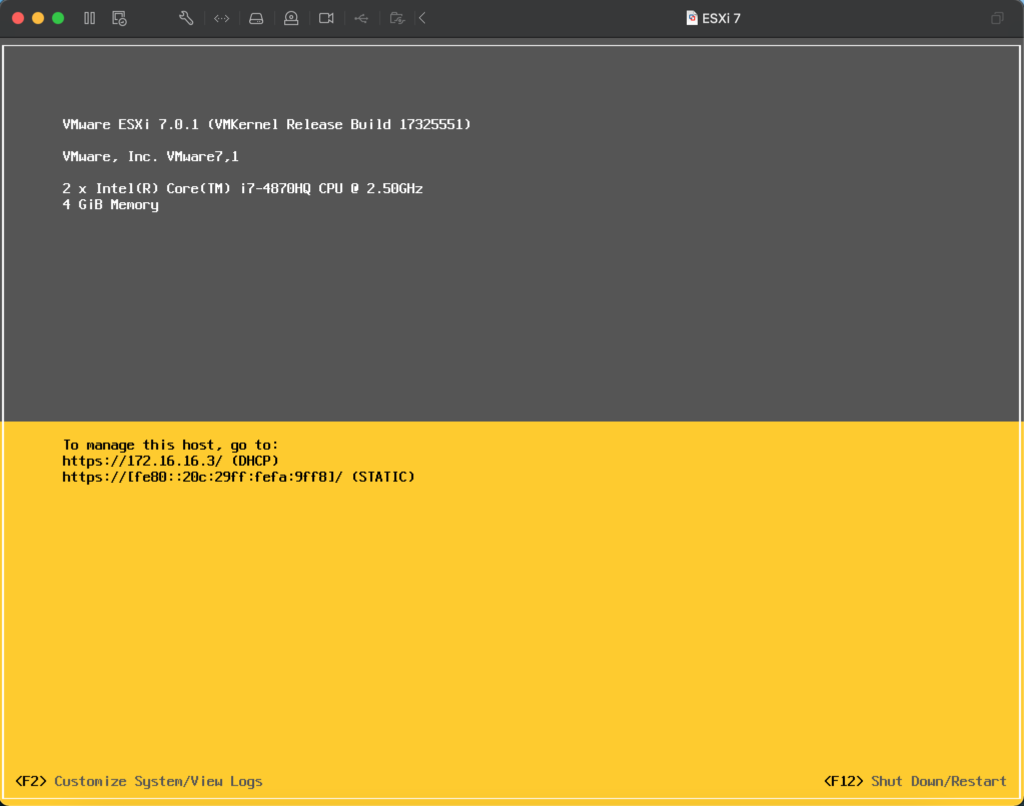
The first step in the vMware journey begins with installing the ESXi hypervisor.
Installing the ESXi hypervisor is fairly straight forward. I suggest running a quick check against the Hardware Compatibility Guide to verify your server will support whatever version of ESXi you plan to use will actually run on your gear.

Once you have downloaded the ISO (and verified the checksum) you need to put it on bootable media such as a CD-ROM or bootable USB and boot your device from it. If you’re using the USB option and plan to boot your device from USB- you can install ESXi on the USB device you boot from.


ESXi enforces password requirements for access from the Direct Console User Interface, the ESXi Shell, SSH, or the VMware Host Client.
- By default, you have to include a mix of characters from four character classes: lowercase letters, uppercase letters, numbers, and special characters such as underscore or dash when you create a password.
- By default, password length is more than 7 and less than 40.
- Passwords cannot contain a dictionary word or part of a dictionary word.
More information on ESXi Passwords


For more detailed information download the VMware ESXi Installation and Setup Guide from VMware.com


