

After installing ESX on your hardware you’re going to want to set the IP address to a static configuration. Running ESX from DHCP is only suggested if you have reservations set up in your DHCP scope however, Static IPs are the way to go for best practices.
The screen that is displayed is referred to as the Direct Console User Interface (DCUI). There are ways to configure the DCUI to limit access and that will be covered under the hardening phase of the deployment.
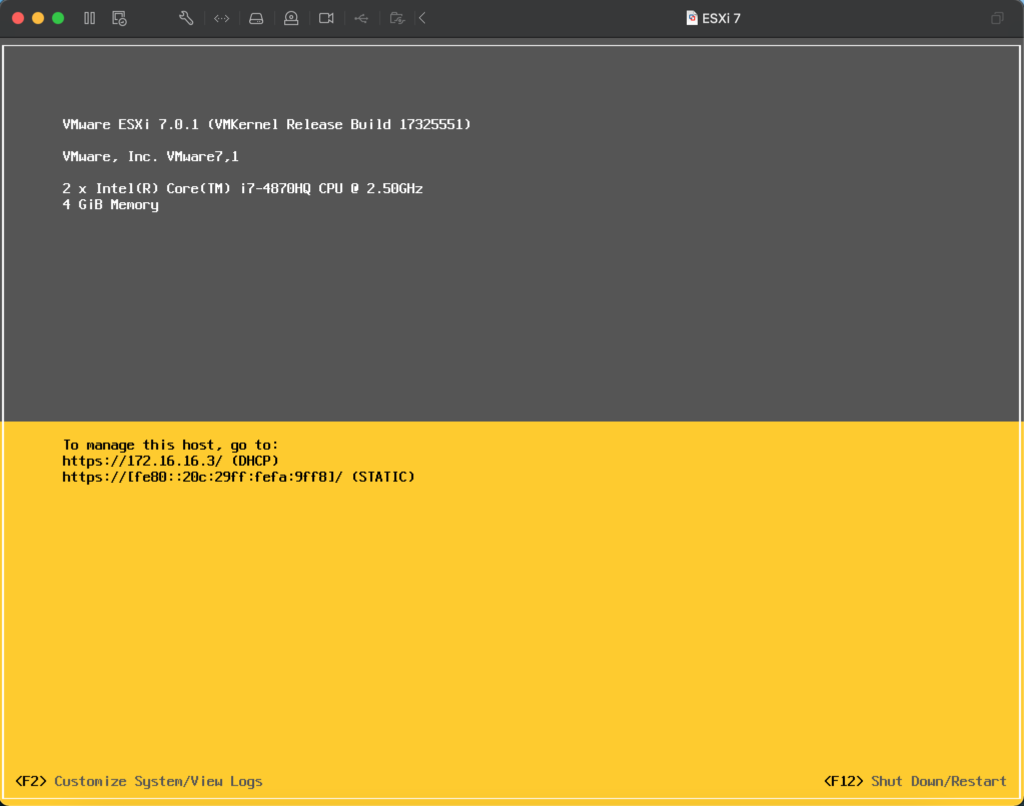
Log into the DCUI by hitting the <F2> key and you will be prompted for the username and password. By default, the ROOT user is the default account. We will get into adding and changing the users with access to the DCUI as we harden the system.


Use your up/down arrows to navigate this menu.


Select IP IPv4 Configuration and press <ENTER>

Using your arrow keys select the desired IPv4 config. Best practice is to select Set static IPv4 address and network configuration and press the <SPACE BAR>
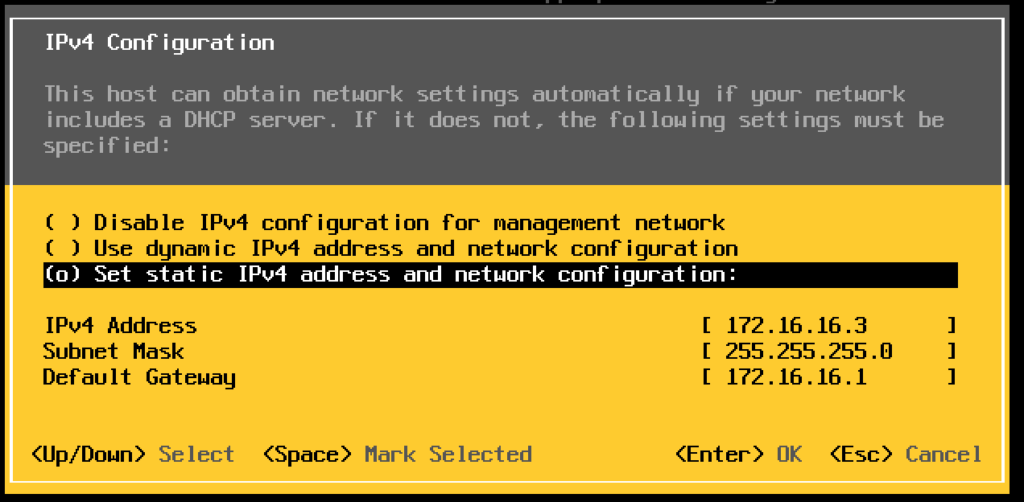

If you hit <ENTER> instead of <SPACE BAR> you will be brought back to the Configure Management Network screen and your changes will not be saved.
Using your arrow keys to navigate, enter the IP information specific to your environment for this host.

After hitting <ENTER> you will be brought back to the Configure Management Network screen and you should see the IP correct IP settings on the right side of the screen.

If your network is configured correctly, you should now be able to ping your host with the IP address it was just assigned.
For more detailed information download the VMware ESXi Installation and Setup Guide from VMware.com
